Editing the HTML of the Main Content Area of a page, or editing HTML within an HTML Web Part may be useful, however, we suggest abiding by these guidelines when doing so.
Make sure that you feel comfortable with HTML5 and that you've looked over the
Basic HTML Guide.
The first rule of thumb is to not use any in-line styles that affect font style, color, or size. We have a style sheet that covers everything, and for the sake of consistency, all university sites should adhere to it. The default settings should always be adhered to - use the ribbon and be sure to clear outside formatting.
The only tags you will use are
p, h2,
h3,
ul,
ol,
li, and possibly
strong or
em. For links, you'll use
a href="[link here]" or for email addresses in the first reference put mailto: before the address, like so:
a href="mailto:email@address.edu", but you can also add those like any link through the ribbon.
The main places that you will be editing HTML in a page are if there are HTML web parts or a staff grid on a page, or if you need to fix wonky formatting.
Editing the HTML Markup of a Page
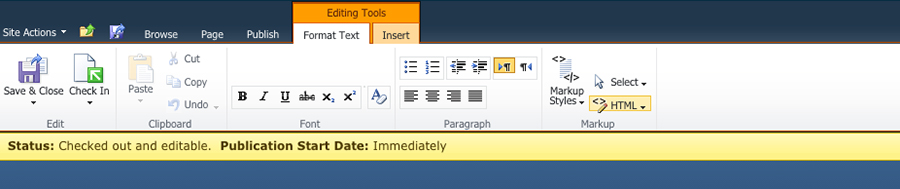
Edit the page and click anywhere in the Main Content Area. In the ribbon, select the
Format Text tab and click on the
HTML button (next to Markup Styles)
Select
Edit HTML Source in Rich Text Editor from the dropdown
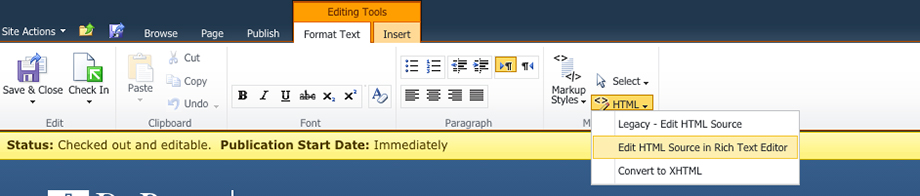
When you're done, click
OK.
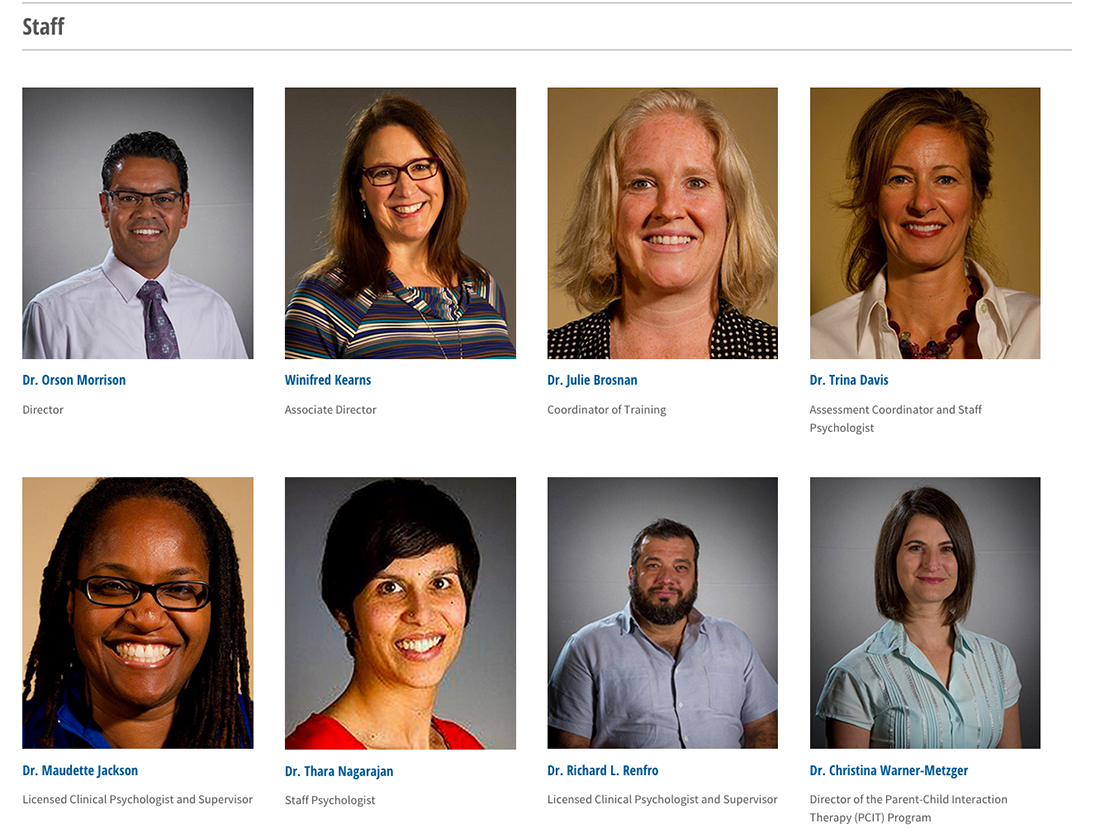
Editing a Staff Bio Photo Grid
To edit
a staff bio grid, you'll need to go into the HTML markup of the main content area of the page. You'll be replacing items between tags, so if you are not comfortable with HTML5, please put in a TSC Ticket. Please do not edit the content like you would a normal page and please do not use the ribbon to format anything or insert photos, as it will insert different markup than is used in the grid and can create problems.
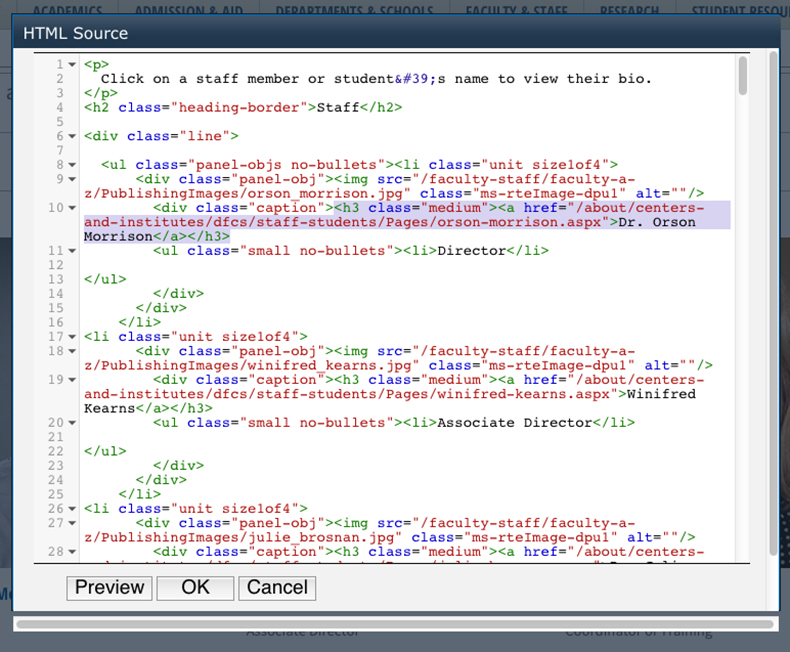
Here's an example from the College of Science and Health.
When you edit the page, click in the Main Content Area and in the ribbon, select the
Format Text tab and click on the
HTML button (next to Markup Styles)
Select
Edit HTML Source in Rich Text Editor from the dropdown
You'll see code that looks something like this
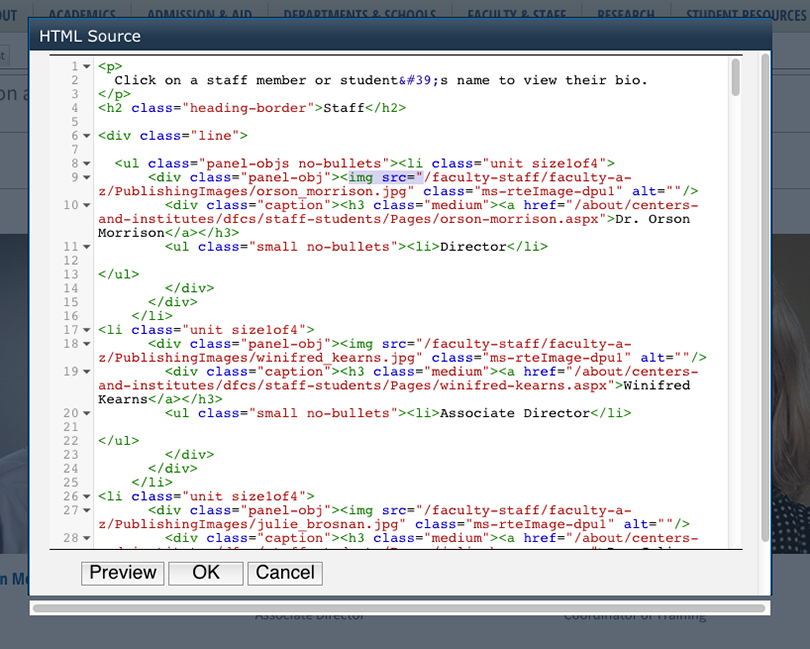
All you'll really be doing is replacing or modifying urls and content between tags. You might swap out the image by replacing the img src with a different url (pre-upload images through Site Actions > View All Site Content, and in the Images folder, upload the images. Make sure they are 255px x 300px before uploading), or change someone's title by replacing the text between list item tags. See more about
image requirements here.
 If you need help with adding, replacing or removing content from a grid like this, feel free to contact DXA for support.
Tip: If you mess up, click Cancel and start over. You can also undo changes to the whole page by clicking Discard Checkout from the dropdown under the CheckIn button in the ribbon. For added security, before editing the html of a page, you can copy and paste the entire existing HTML source in Note Pad or a text editor. This way you have saved a copy of the original code in case something gets messed up.