Documents are uploaded to your SharePoint site’s documents libraries and then inserted as a link on a page. Below are the steps for uploading and linking to documents.
We recommend only uploading
accessible PDF documents. Learn how to make your PDFs accessible by watching this short
LinkedIn Learning video on making accessible PDFs.
Microsoft Word, Excel and PowerPoint files will require Campus Connect authentication unless they are housed in your site’s root documents folder. (Even though it is not recommended, if you must link to a Microsoft Office file in your site, you have to upload and link to it from the top-level documents folder, accessed through View All Site Content via your site’s home page.)
Overall, for optimal accessibility, we recommend uploading documents sparingly and instead making all content on your website text content (or accessible PDFs if absolutely necessary).
Video Tutorial
Step-by-Step Tutorial
After
logging in to your site, go to the page where you want to insert the document. When you are on the page, click the
Edit icon (the second to the right of Site Actions) or click on the Site Actions drop down menu and select
Edit Page.
Click in the Main Content area and highlight the words to which you would like to link the document (this is usually the document title or an action word).

Click on the
Insert tab in the ribbon and then click on Link or from the dropdown, click
From Sharepoint.

A box will appear that shows your SharePoint Documents library. Click
add (in “Click to add new item”) at the top to upload the PDF document. (Do not upload Word files to subsite document libraries; upload those to your top-level Documents folder only.)

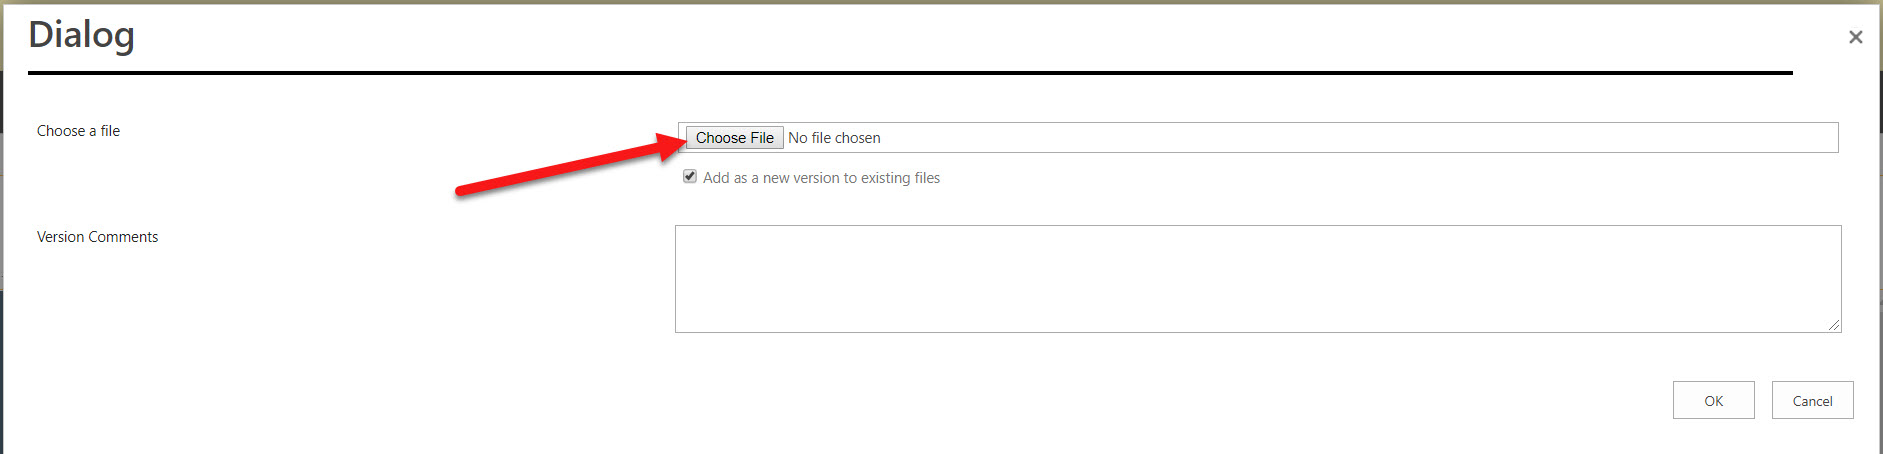
Click
Choose File to choose the file from your computer and then click
OK. After you have chosen the file from your computer, give the Document a title and click
Check In.
Then select the document so it is highlighted by clicking on it and then click
Insert.
The page will now look like this in edit mode:

Your document is now linked in the text.
When you are done editing the page, don’t forget to
Save & Close and
Check In.