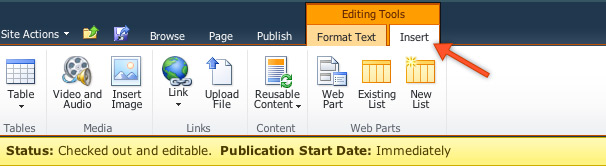
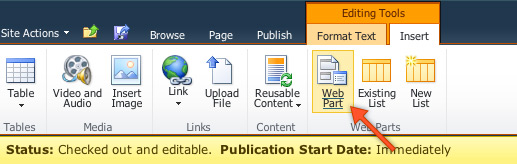
1. Go to the Insert tab in the ribbon, and click on Web Part.
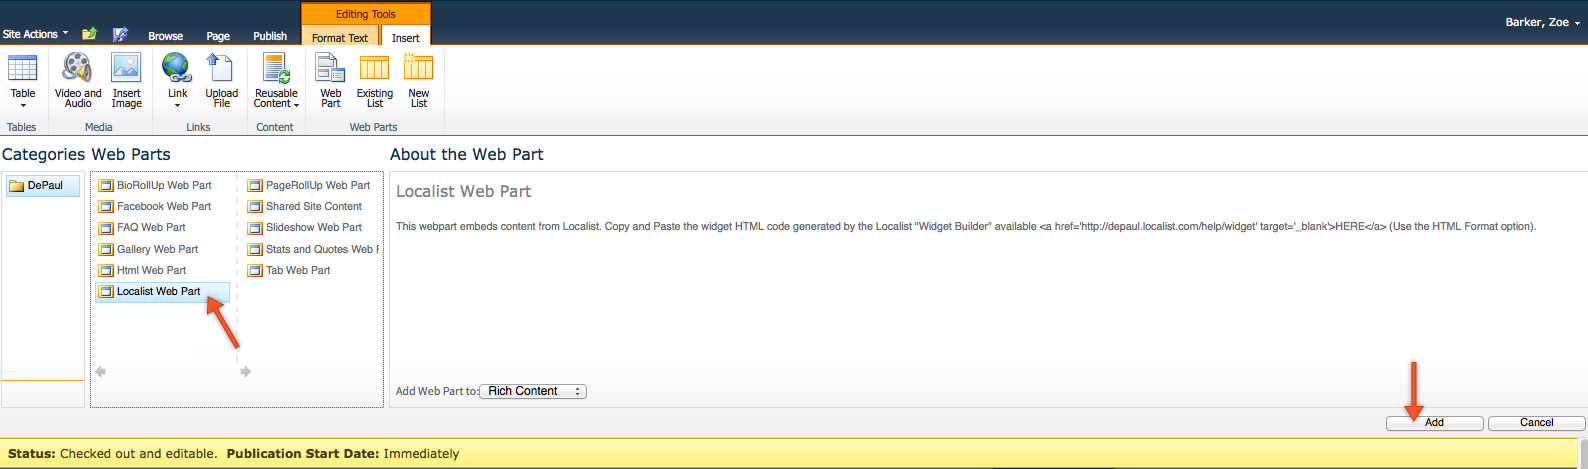
2. Select Localist Web Part, and hit Add.
3. Click the
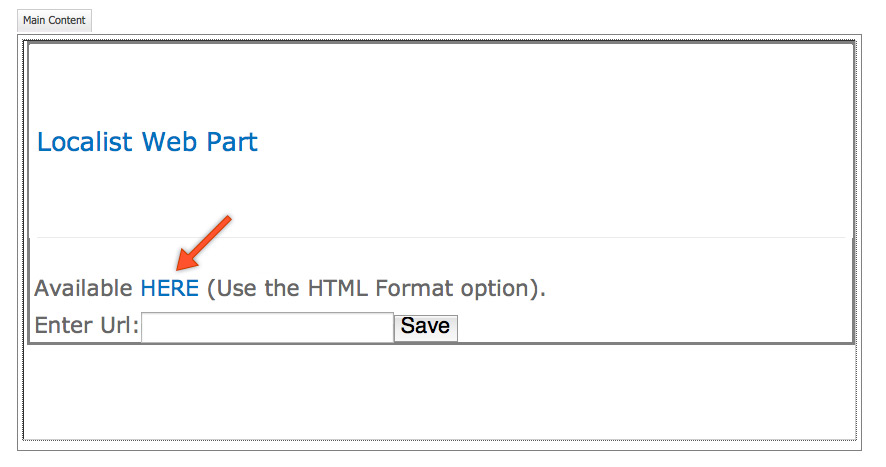
HERE link in the web part, or in a new tab or window, go to http://events.depaul.edu/help/widget. Use the Widget Builder to filter the event content you need. Standard Localist widgets use the
Default template and
All for community. You can adjust the number of results you want the web part to display at a time (usually
3-5) and the number of days ahead (usually
300 to guarantee the web part displays content at all times).
The
Department selection is the most important; it corresponds with your department or office or college/school.
If you use Tags and/or Keywords (tags are visible, keywords are not) when you input events in events.depaul.edu, you can select those as well.
For the Display Options, the widget type of
List and style of
Classic are usually used, because they look best on a home page or in a right sidebar (if the page layout has one). There are other display options such as Modern or Card that are used for displaying events on full width pages.
Feel free to select Open Links in New Window, Hide Event Images, or Hide Descriptions to fit your needs (you can preview the widget as many times as you want). Hide Event Images is best if you do not regularly add images to your event listings.
4. Select Preview Widget, and copy the URL from the preview page.
Do not use the embed code. Preview Widget is the only way it will work.
5. Paste the URL into the web part on your page where it says Enter URL, and then hit Save.
6. Save & Close and Check In the page in the ribbon.
You do not need to generate a new code every time you enter a new event — the code automatically pulls events that are entered that meet the criteria you used to generate the code in real time.
On a home page layout:
1. Click Add a Web Part.
2. Select Localist Web Part, and hit Add.
3. Click the HERE link in the web part, or in a new tab or window, go to http://events.depaul.edu/help/widget, and use the Widget Builder to filter the event content you need. Standard Localist widgets use the Default list type and All for community. You can adjust the number of results you want the web part to display at a time (usually 3-5) and the number of days ahead (usually 300 to guarantee the web part displays content at all times).
Department is the most important as it is how you choose which event feed(s) to display. It corresponds with your department or college. Feel free to select Open Links in New Window, Hide Event Images, or Hide Descriptions to fit your needs (you can preview the widget as many times as you want). Hide Event Images is best if you do not regularly add images to your event listings.
4. Select Preview Widget, and copy the URL.
5. Paste the URL into the web part on your page where it says Enter URL, and then hit Save.
6. Save & Close and Check In the page in the ribbon.
You do not need to generate a new code every time you enter a new event — the code automatically pulls events that are entered that meet the criteria you used to generate the code in real time.
Step-by-step Image Guide
Click in the Main Content area, and in the ribbon click the
Insert tab.
 Click on the
Web Part button.
Click on the
Web Part button.
Choose
Localist Web Part, and click
Add.
Once the web part is on the page, click the
HERE link to go to the Localist widget builder page.
First, you'll want to set the number of days ahead it looks for events and the number of results it should show.

Next, you'll want to select the department's events that you want to show up (can be multiple) and make other selections. Then hit
Preview Widget.

You can also select other display options if you wish and click
Preview Widget (NOT generate embed code).

Copy the URL from the preview page.

Back on the page where you inserted the web part,
paste that URL from the Preview Page into the field in the web part.
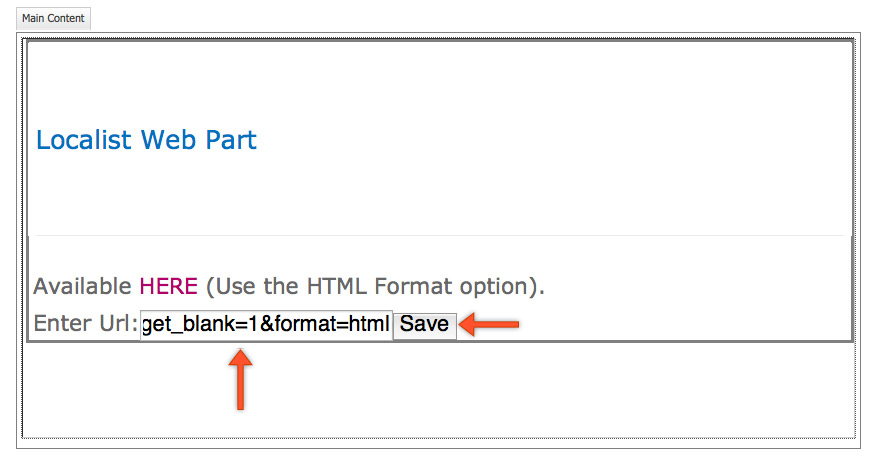
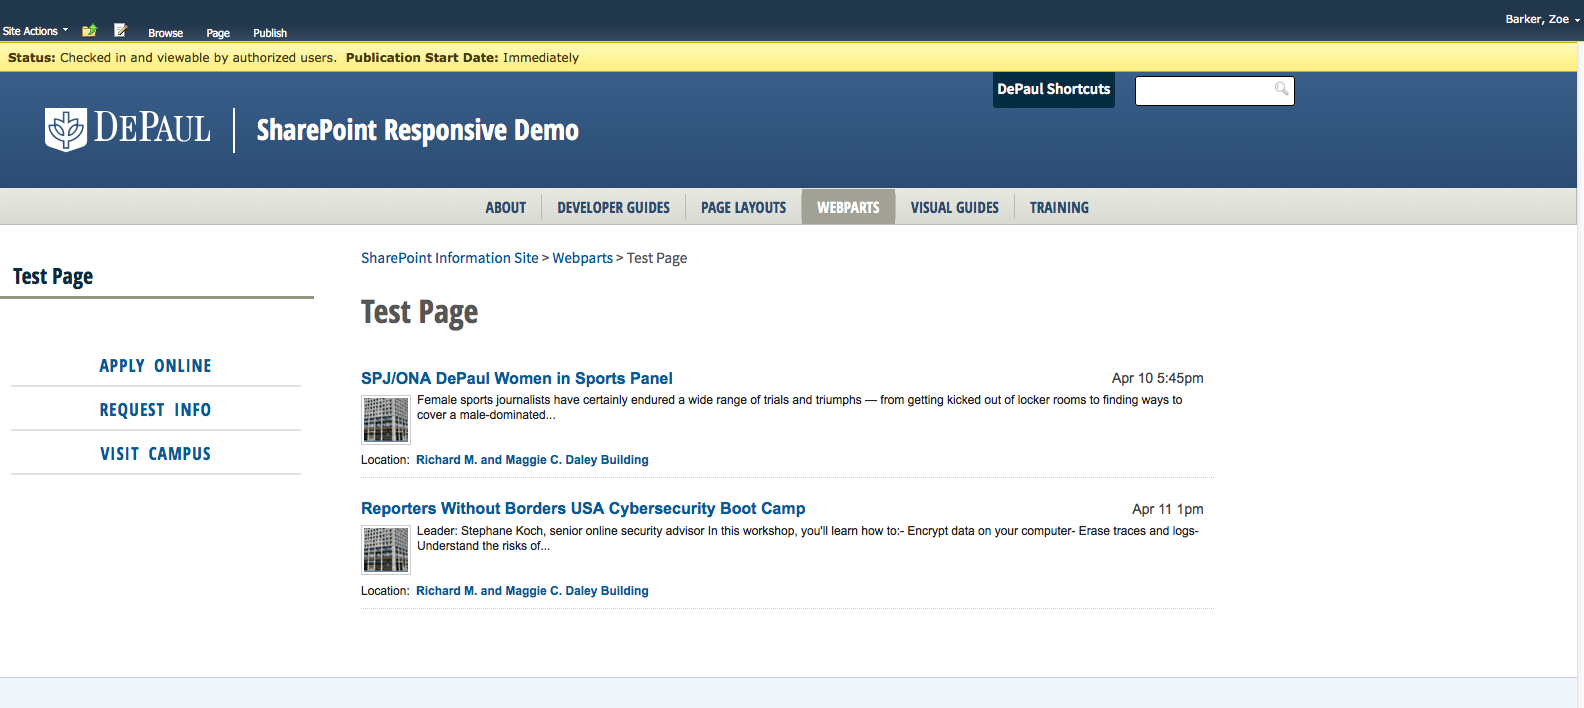
Save & Close the page to see how it will look. If you are happy with it, Check In the page.
Publish when you are ready.
See our Best Practices Guide or
this PDF of instructions for more.