As always, log in to edit the page in SharePoint by clicking
Editor Login in the bottom right corner of the page, and enter your Campus Connect username and password. Next, click the Edit symbol at the top of the page, or go to the Page tab and click
Edit. If the ribbon does not appear, you can access it through the Site Actions dropdown by selecting Show Ribbon, or edit the page directly from the dropdown menu.
Inserting Shared Content
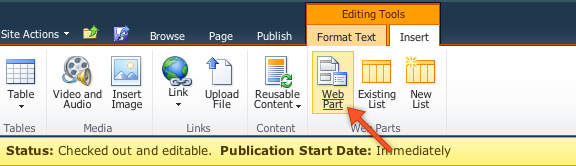
1. Go to the
Insert tab in the ribbon, and click on Web Part.
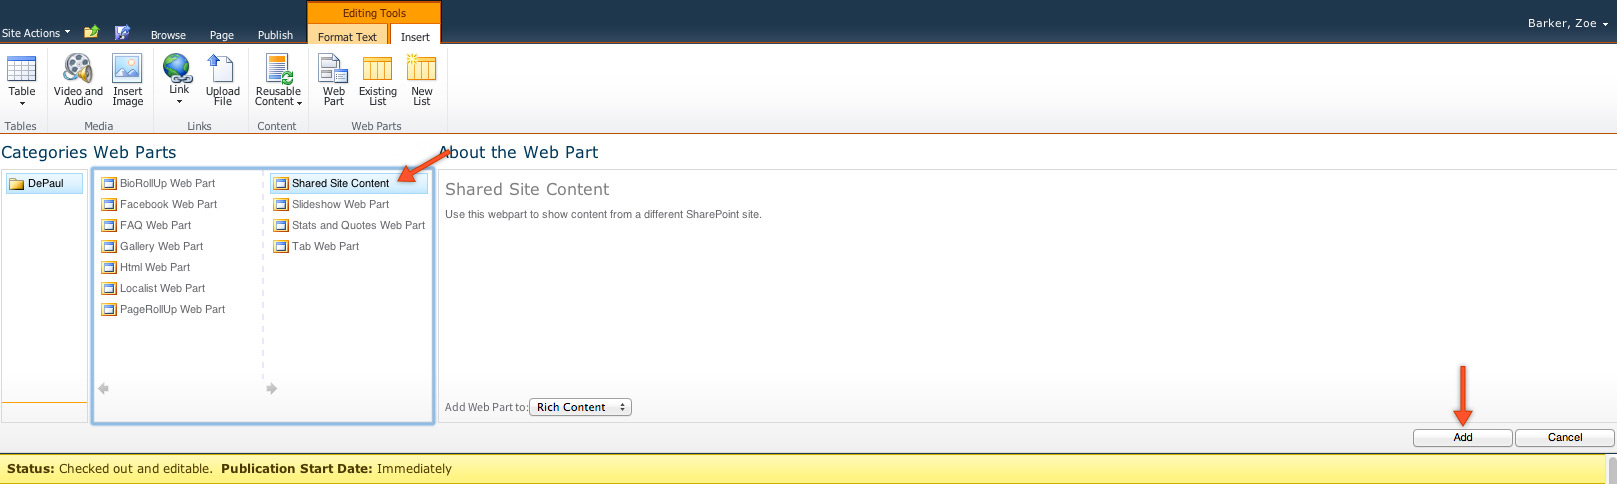
2. Select
Shared Site Content, and hit Add.
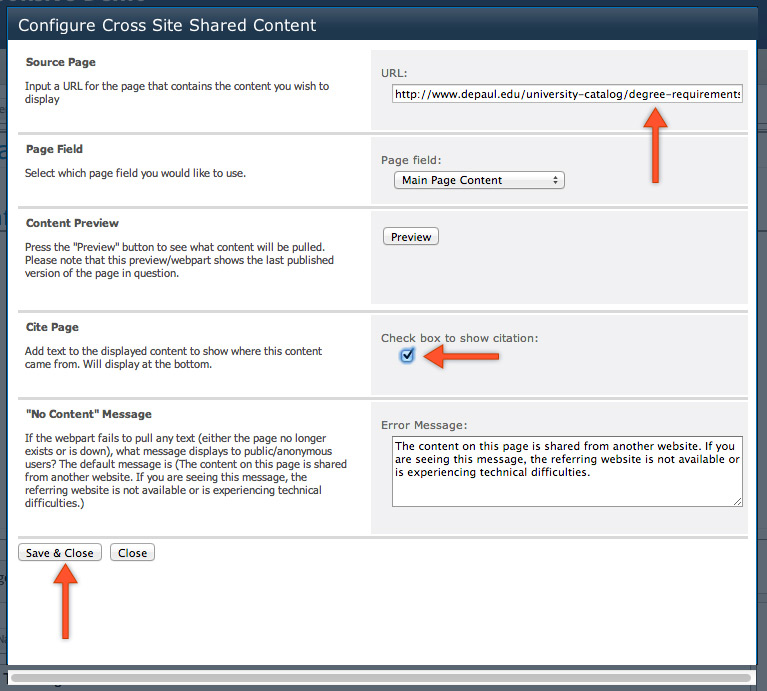
3. Click on Configure Webpart, and in the Source Page URL field, paste in the URL of the page you wish to share.
4. To see what the content will look like and make sure it displays the content correctly, click on Preview. To add automated citation text to the bottom (it informs the user where the content originates), check the box in the Cite Page field under Check Box to Show Citation. Make sure the No Content Message field shows the following error message: The content on this page is shared from another website. If you are seeing this message, the referring website is not available or is experiencing technical difficulties. (Copy and paste it in if it does not default to this.)
5. Click Save & Close.
6. Save & Close and Check In the page in the ribbon.
Step-by-step Image Guide
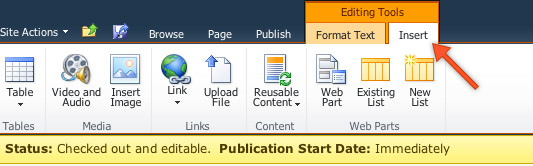
Click in the Main Content area, and in the ribbon click the
Insert tab.
Click on
Web Part.
Choose
Shared Site Content, and click
Add.
Click
Configure Webpart.

Copy the URL of the page you want to share, and paste it into the URL field. Check the box to show citation, and click
Save & Close.
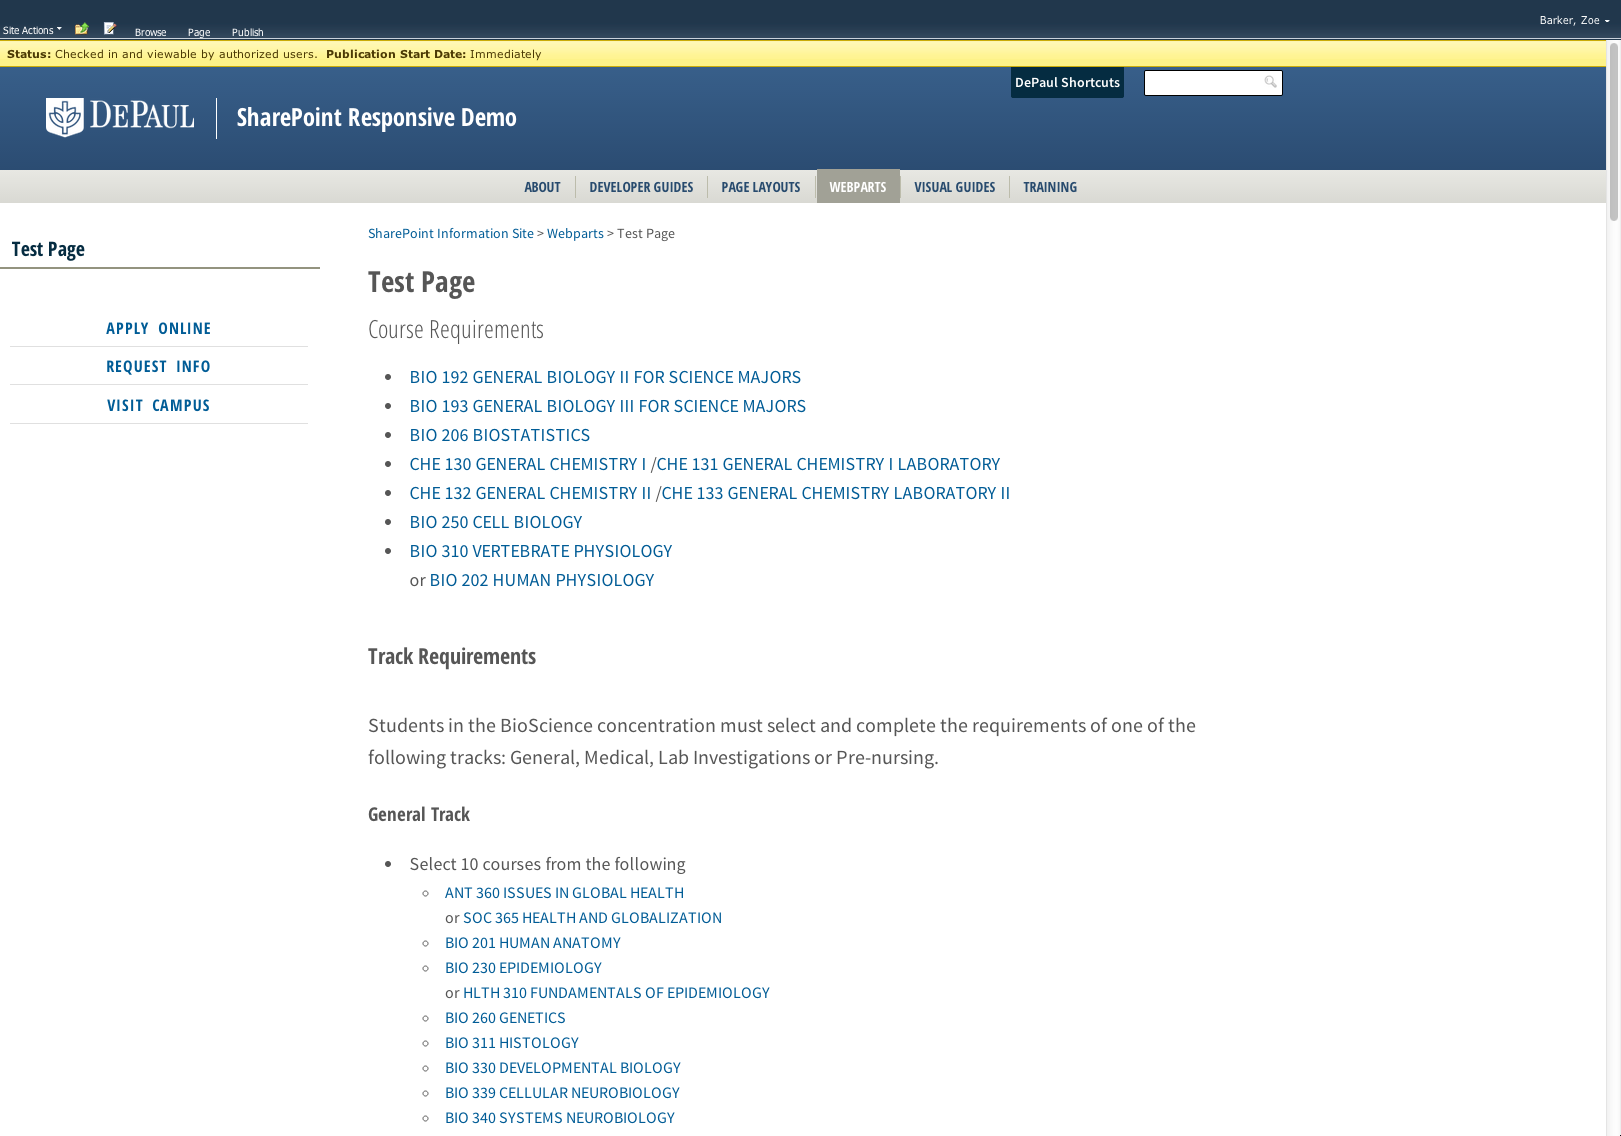
Now your page should look something like this:
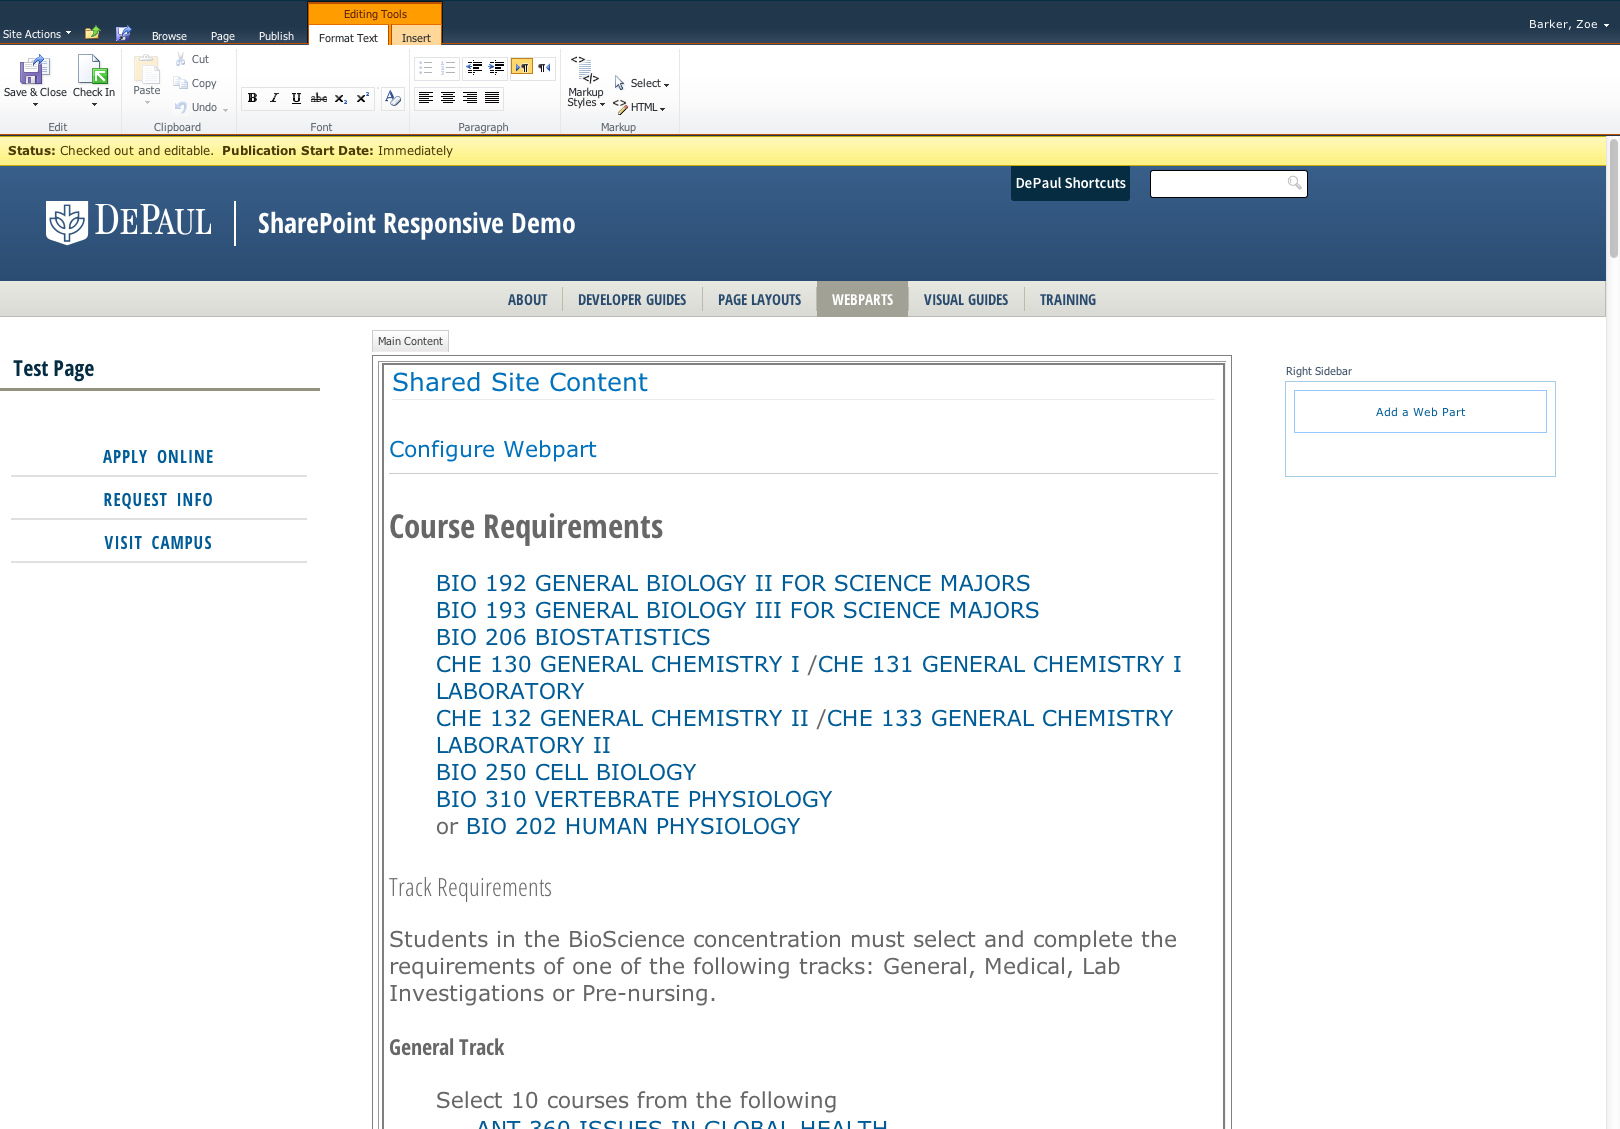
If it looks correct, Save & Close and Check In the page.